Creating Folders
To add a new folder, click the +Folder icon in the upper right corner. Name your folder and then click “create”.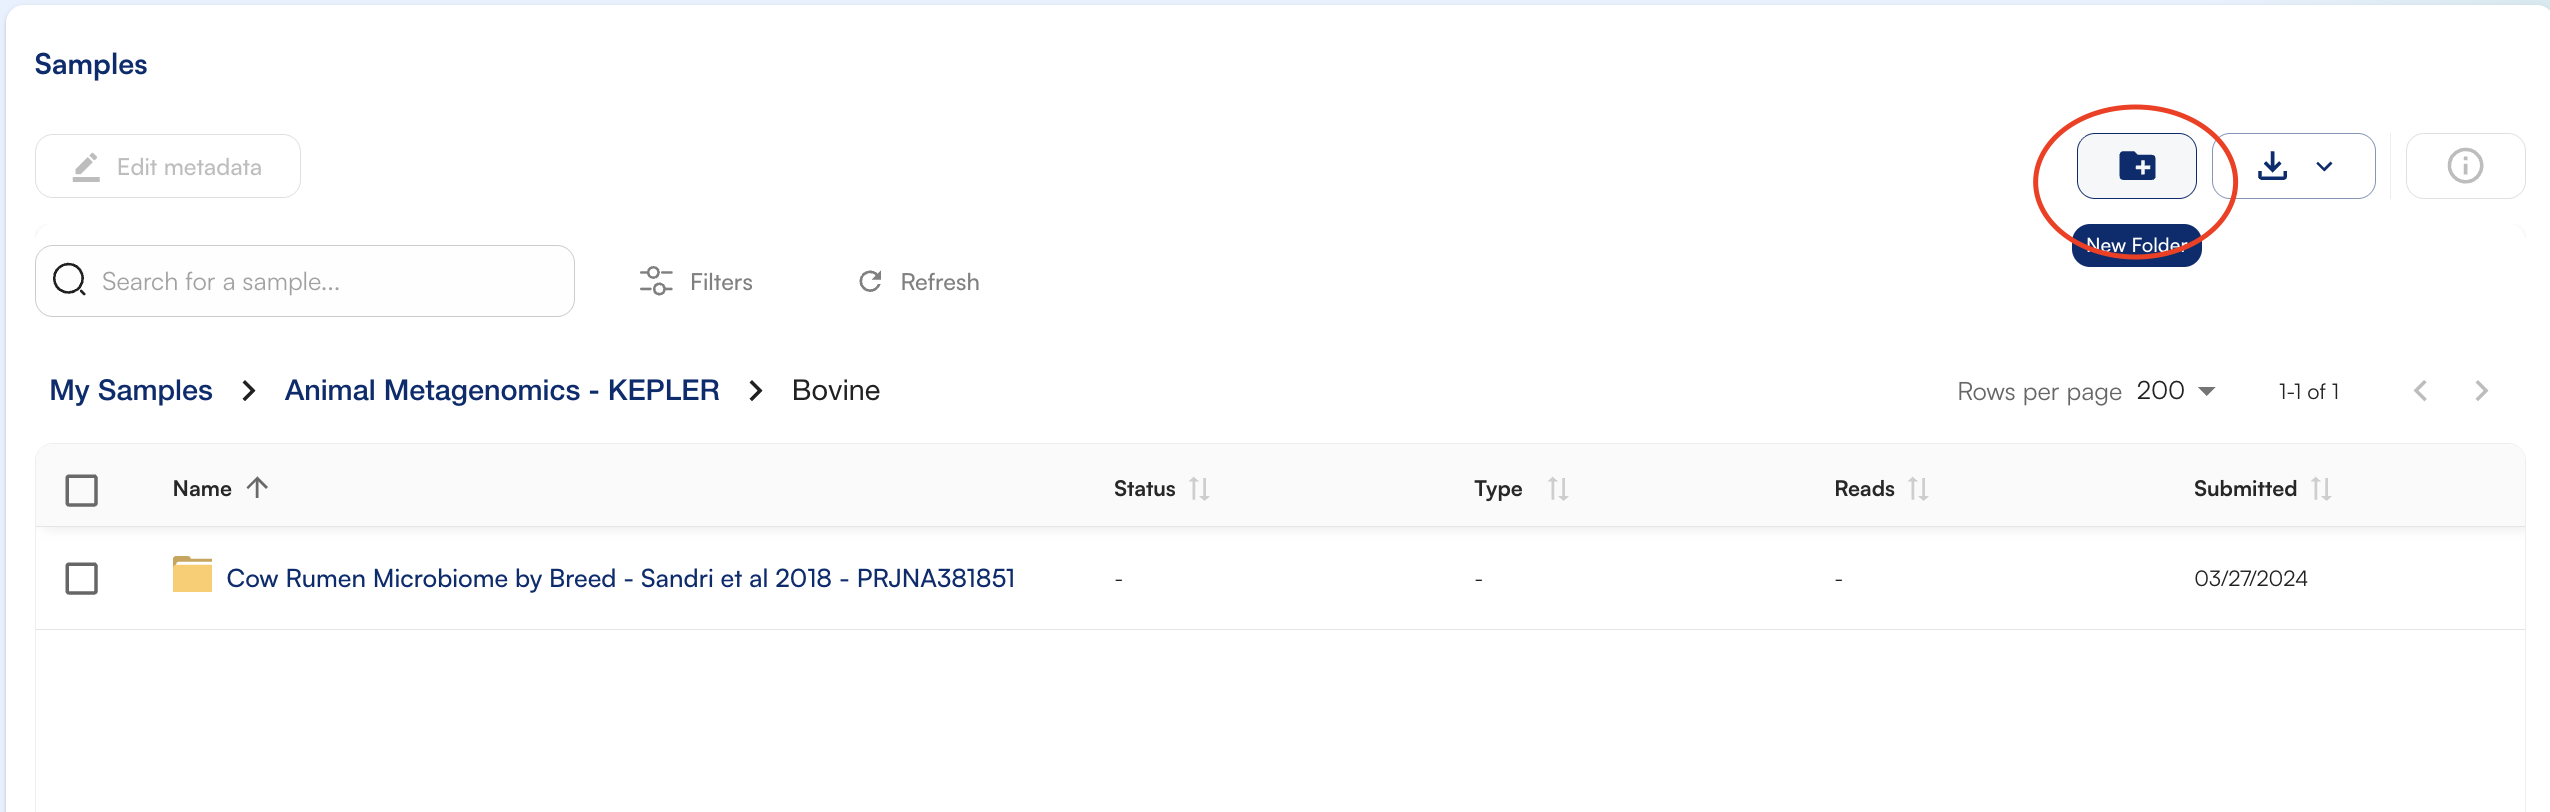
Moving Samples to Folders
To move samples into the folder, click on the samples to select them. Hold down the Command key (Mac) or Control key (PC) to select multiple samples, or hold down Shift to select multiple samples in a row. Once the samples are highlighted, click on the 3 dots in the top right again. Click “Move To” and select the folder you wish to move your samples into by highlighting it from the drop down menu.Renaming Samples or Folders
To rename a folder or sample, click on the sample or folder to highlight it. Edit the name as needed and click “save”.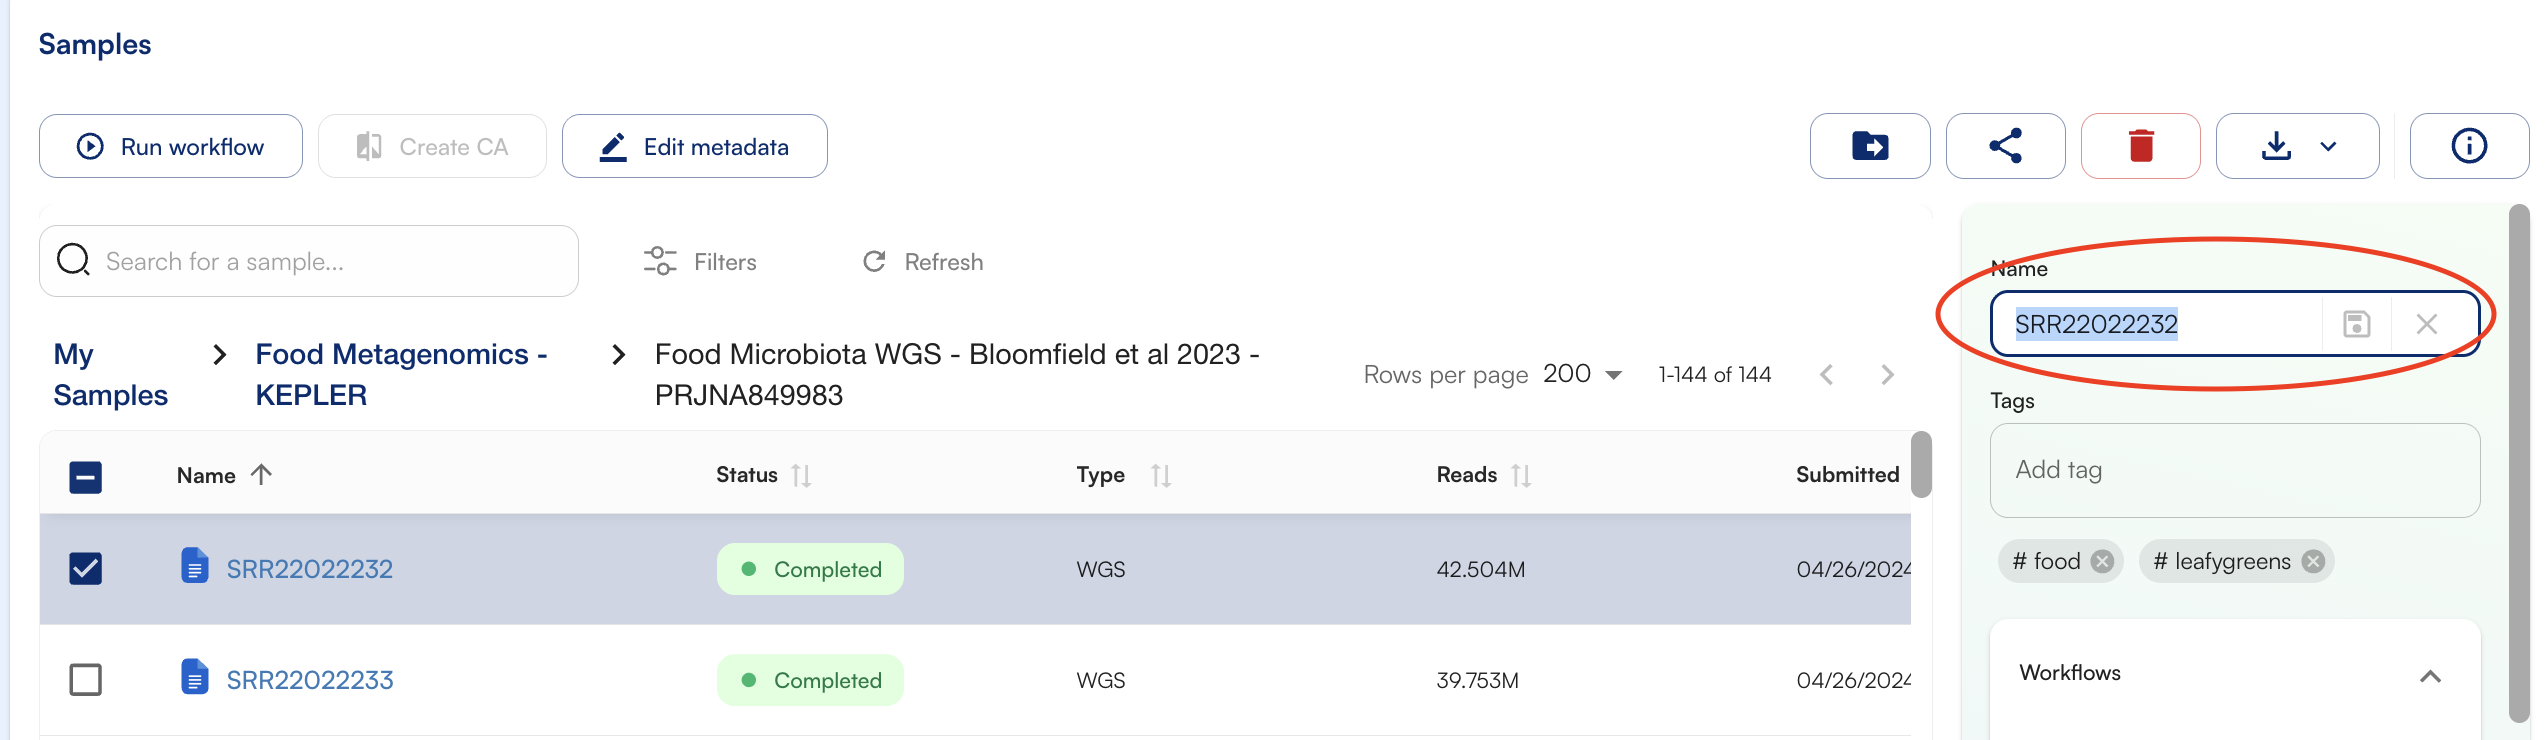
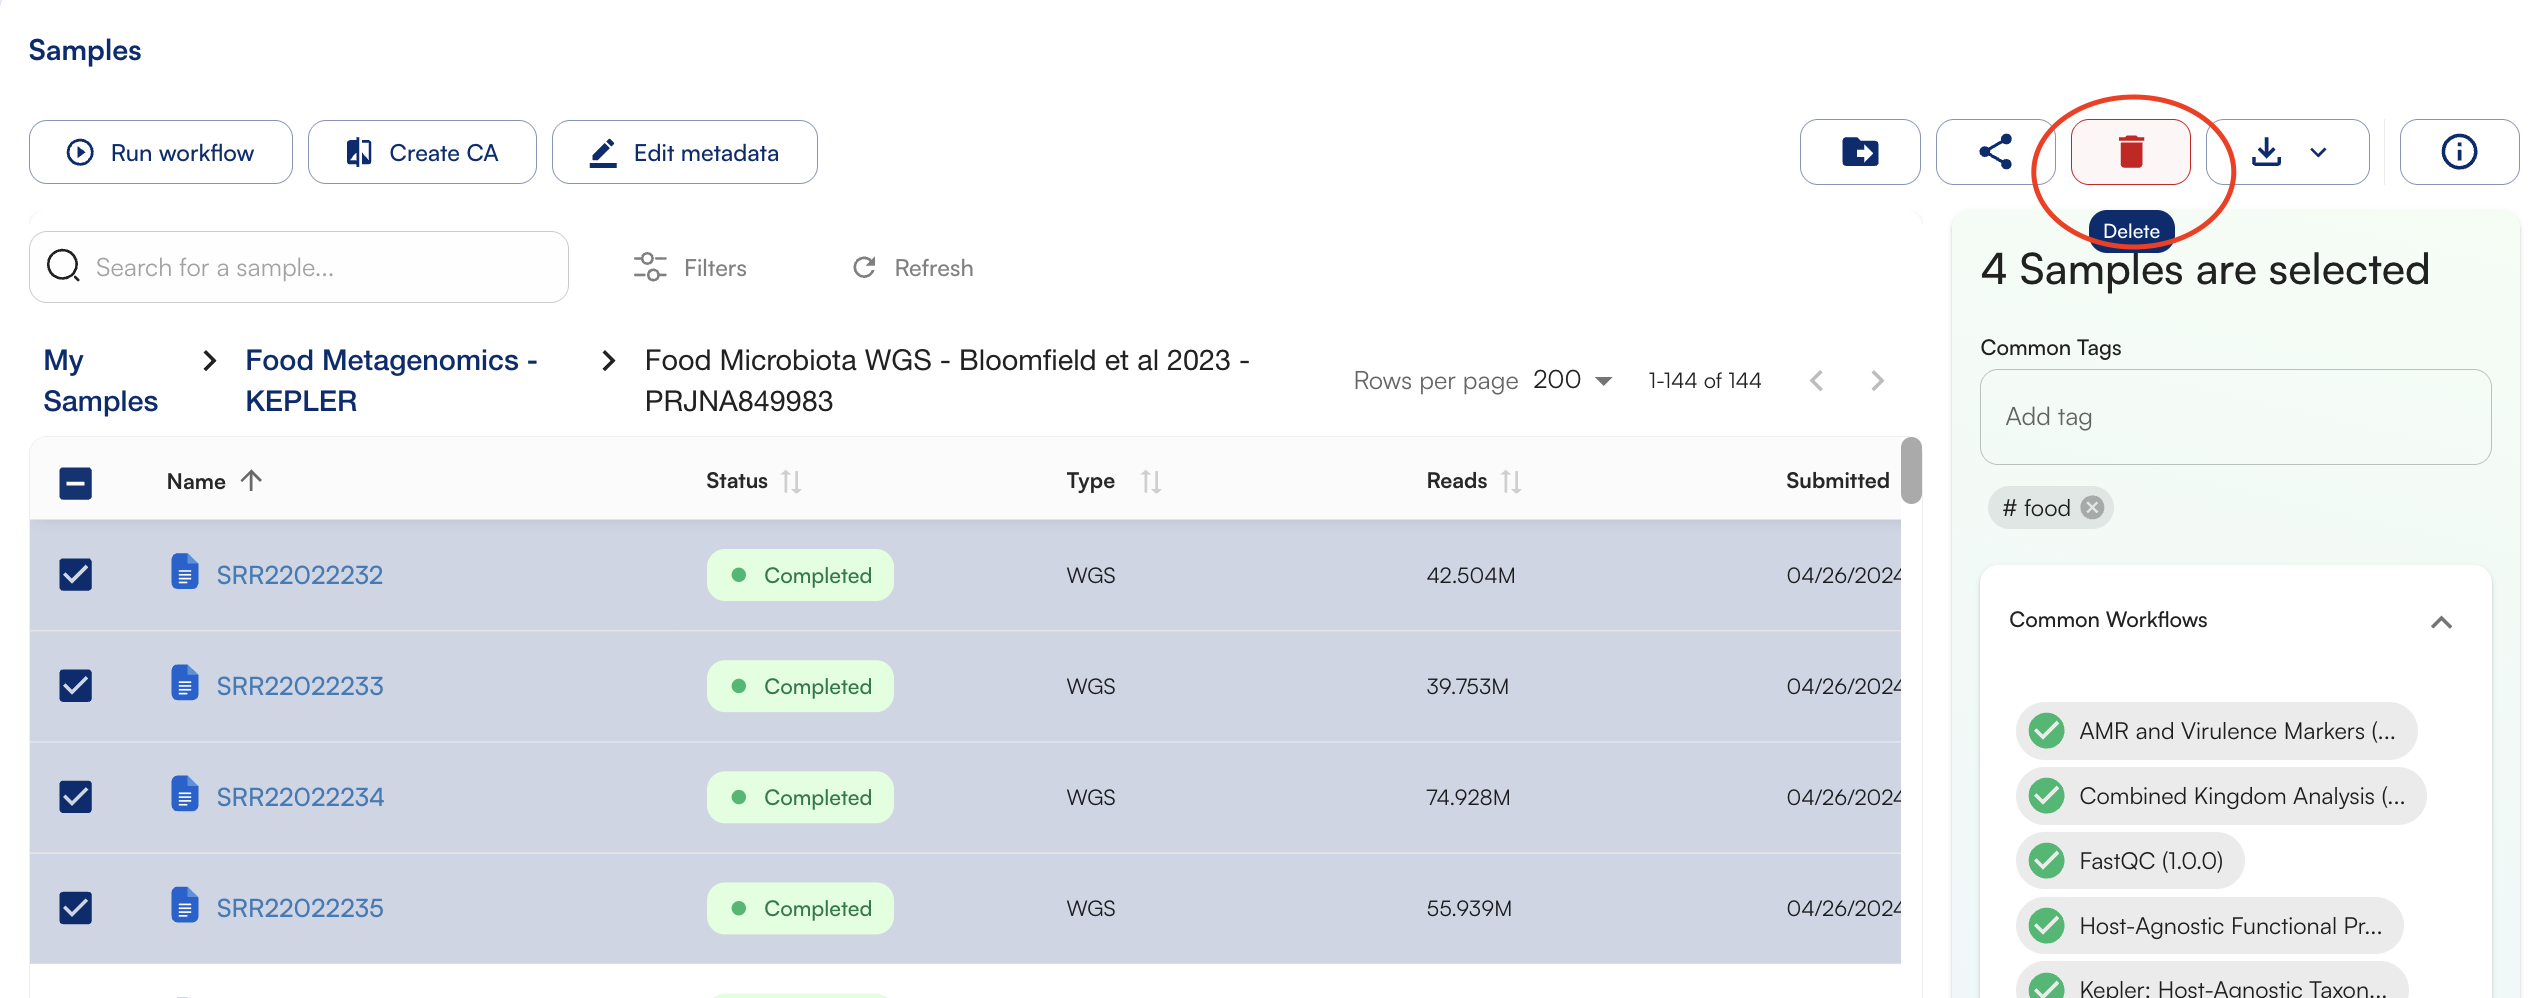
Deleting Folders
You can only delete empty folders. First, move or delete all of the samples in the folder. After this you will be able to delete the folder. From the dashboard, click beside the folder name and on the top right, click the trash bin icon.